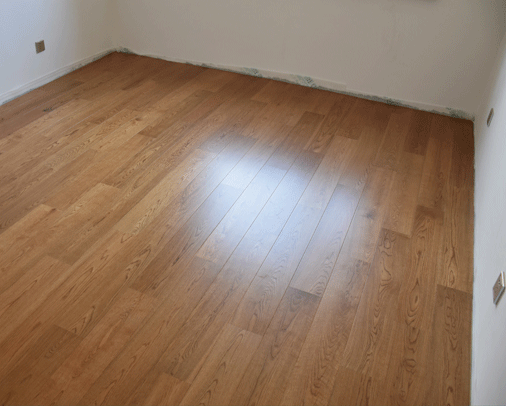
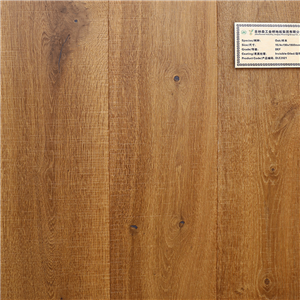
What is the floating installation of Engineered Flooring?
What is the floating installation of Engineered Flooring?
Installing engineered wood flooring can be accomplished in many ways.
Floating Installation - planks are glued side by side, but not glued to the floor.
Glue Down - planks are glued directly to the concrete or floor.
Stapled/Nailed Down - over a wood subfloor
Notice:
Not all engineered flooring can be stapled, nailed, glued, and floated.
Please be advised that you should follow the instruction.
Today,I will introduce the most common installation way—Floating Installation
Preparation
Heated & ventilated for 4 weeks
Room/working temp. 20℃
Relative humidity 36-65%
Sound insulation 2mm.plastic foam
Fill all gaps
Remove old carpet etc.
Flatness:+2mm. pr 2m length
Repair broken floorboards
Screw/nail loose floor boards
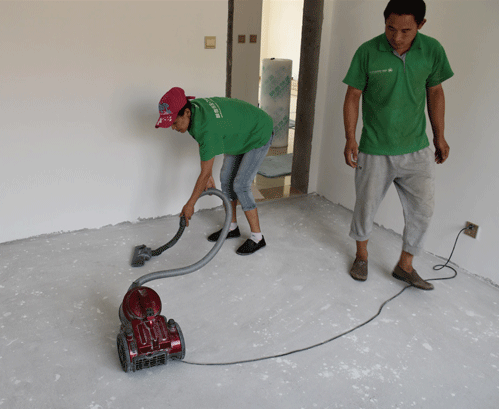
Floating Installation
Only engineered styles with 5 layers or more are approved for floating installation. Anything thinner could buckle or become damaged while floating.
1. Lay Down Underlayment
Any floating floor installation requires the use of underlayment. Use underlayment designed for engineered floating floors.
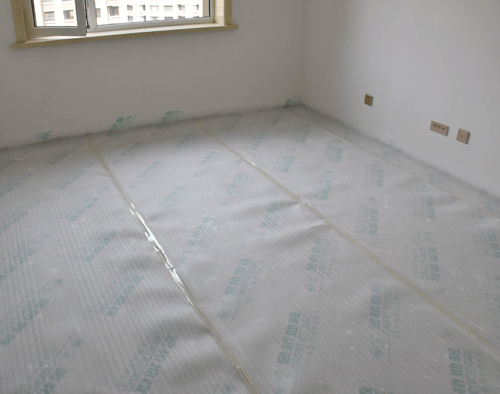
2. Leave Enough Room For Expansion
There is a 10-15mm, expansion gap between the board and the walls and other fixed objects (remove tongue ).This allows the floor to expand and contract normally. Not leaving an expansion gap can cause your floor to buckle.
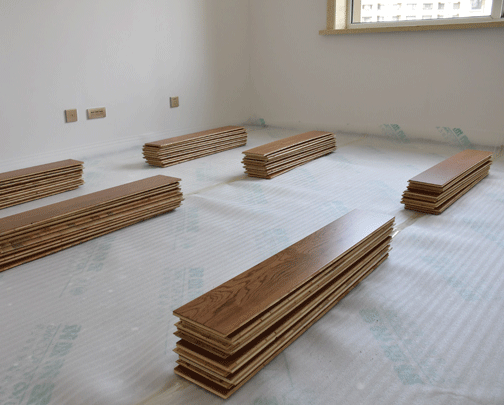
3. Installation
The installation begins in the left hand corner of the room with the long direction parallel to the longest wall of the room.
Install three rows of flooring glued together and held in place with blue painter’s tape with the groove side facing the wall.
If the floor’s installation guide recommends for it, tap boards together with a hammer and tapping block against the tongue side only.
Spacers must be used to establish the minimum 1/2″ expansion space from the walls. Place spacers against the wall every 2 – 3″ and at each plank end joint connection.
The three rows must be straight, square and in rack because they establish the alignment for the rest of the floor. After putting these three rows together, allow the glue to set (15 to 45 minutes) before proceeding with the installation.
With the tongue facing out, the planks can be tapped together with a tapping block on the tongue to make a snug fit.
After installing 8 or 10 rows of flooring, stand back and check for crowning or heaving due to tension strapping or any damage caused by improper tapping.
If you applied glue in step 3, clean up any glue that squeezes out of the seam between the planks, wipe away with a damp cloth immediately, as dried glue is more difficult to remove. If glue has dried, then lightly scrape it away with a plastic scraper or other method recommended by the glue manufacturer.
